I previously wrote about Martin Millmore’s PowerController MCE add-in for controlling your ByeBye Standby and Z-Wave Home Automation modules here. Martin is in the process of updating the WHS and Media Center components or PowerController and he has also updated the Android phone app to support the new Z-wave functionality. For iPad / iPhone and iTouch users there is a new Web UI that can be accessed via the Safari browser to control your devices.
Media Center add-in

Android Phone App


This guide will focus on Z-Wave modules as I don’t have any ByeBye Standby devices but I will cover as much as I can.
For the Z-Wave stuff to work you will need a Z-Wave USB Controller dongle, Martin and I are currently using the Aeon Labs Z-Stick “When attached to a host processor, it becomes a Z-Wave communication device, which exposes the Zensys API (SerialAPI) through integrated USB.” This basically allows the PC to be able to send commands and receive status updates from the Z-wave devices around your home.
I am using these HomePro Z-Wave lamp and appliance modules. We have also tested some in-wall dimmer switches.
If you have a WHS machine I would recommend you install the Z-Wave USB Controller dongle and driver software on the WHS, as then all your PowerController client Media Center PC’s will be able to send signal commands to the Z-Wave USB Controller, The PowerController add-in on the WHS will then send the commands to the actual Z-wave module devices. The benifit here is that your WHS is normally running 24/7.
However if you don’t have a WHS you can pick a main Media Center PC to install the USB dongle on and configure that as the “Server” other Media Center client PC’s will still be able to turn on / off and dim the Z-Wave modules etc but the main Media Center PC must be turned on for it to work.
WHS Installation
Download the PowerController MCE WHS add-in from here save the .msi file in to the Software\Add-ins folder on the WHS. Open the WHS Console and click on Settings and then select Add-ins from the left hand side. Select the Available tab and install the PowerController MCE add-in.
WHS Configuration
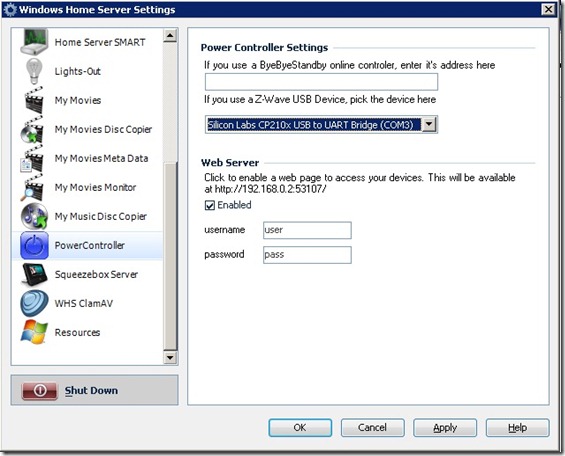
There’s not much to configure in the WHS add-in, if you use a ByeBye Standby Online Controller enter its IP address. Or if you are setting up Z-Wave like me select the Z-Wave USB Controller.
There is now a new Web Server option for the PowerController Webpage. Tick Enabled and enter a username and password.
You can see the URL is http://WHS-IP:53107
Below is the text from the Millisoft website about the Home Server add-in:
“If you are using Z-wave, install the Z-Wave USB controller software on your home server first. To install the server version of Power Controller, download it and put it in your Software/Add-Ins folder on your home server. Then go to settings on the home server and install the add in. The home server console will close after installation, so open it up again and go to settings and choose PowerController. Either enter the BBSB controller address or pick your Z-Wave device (or both). You are then ready to start pointing your media center installations at this server.”
Media Center Client Installation
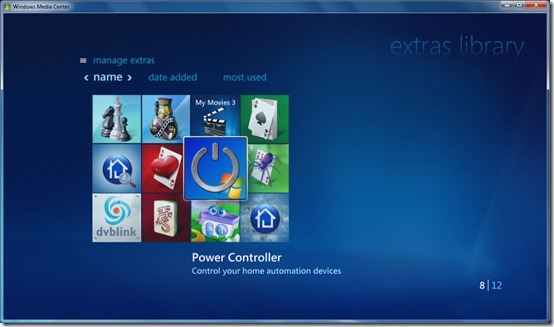
Download and install the PowerController MCE component from here on to your Media Center PC’s. Once installed launch the add-in from the Media Center Extras menu.
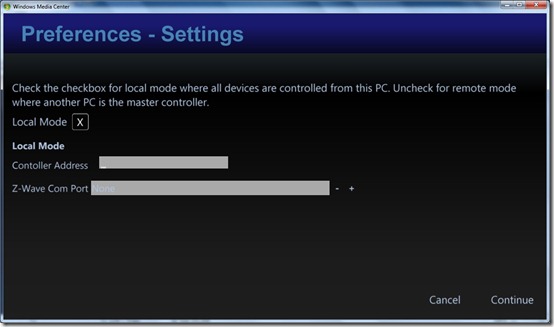
Local Mode ? In a none WHS installation i.e. you have no WHS you can install the Z-Wave USB dongle on to your main Media Center PC, in this scenario you would leave the X in Local Mode and choose the Com Port of the locally install Z-Wave USB dongle.
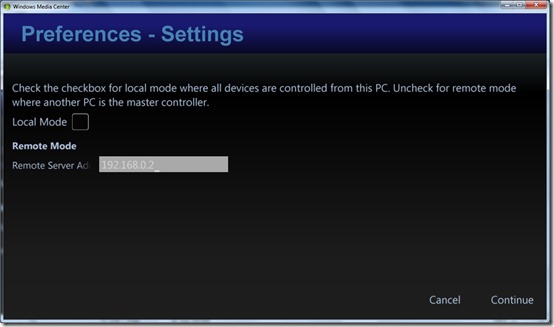
WHS Install – Un-tick Local Mode and then enter the IP address of your WHS server.
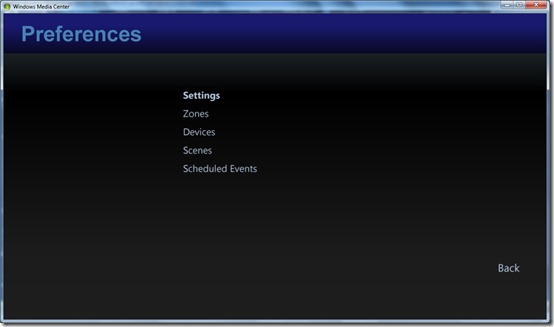
Power Controller then continues to open and you see one New Device. Select Preferences in the top right hand corner.
Preferences
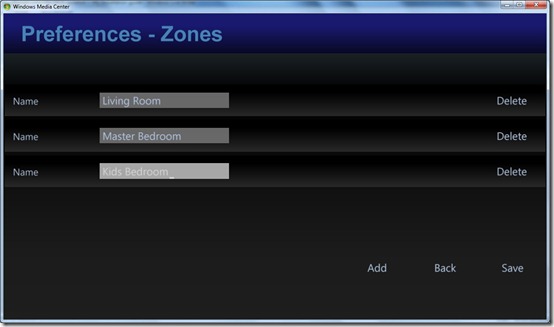
Click Zones and add your rooms and click Save
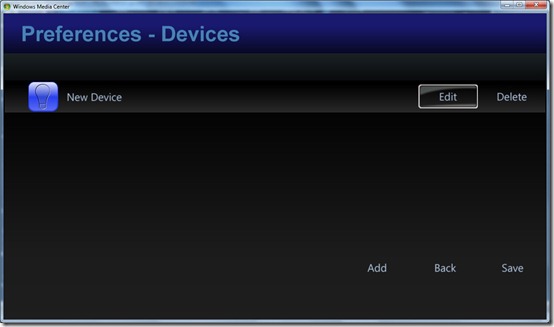
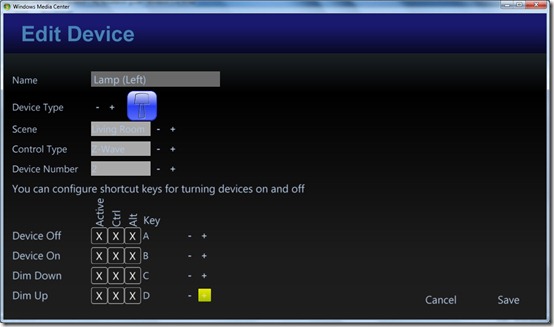
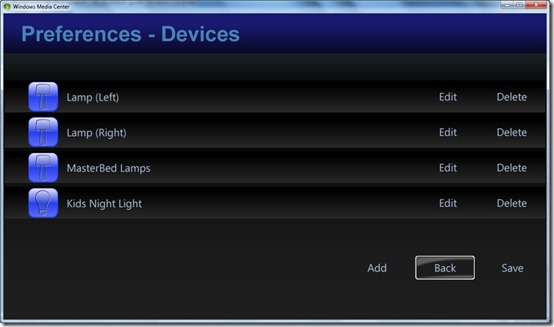
Click Devices and edit the first default device that already exists
- Enter a name for the device
- Choose an icon
- Select which zone the device is in (It says scene should really say zone)
- Select the Controller type – BBSB or Z-Wave
- Enter Z-Wave Device Number of the Z-Wave module you want to control, under this device in PowerController MCE
- Enter keyboard shortcuts (Optional) If you want to program your IR Universal Remote Control to be able to turn devices on and off and dim them up and down.
Add any additional Z-Wave or BBSB device you want to control
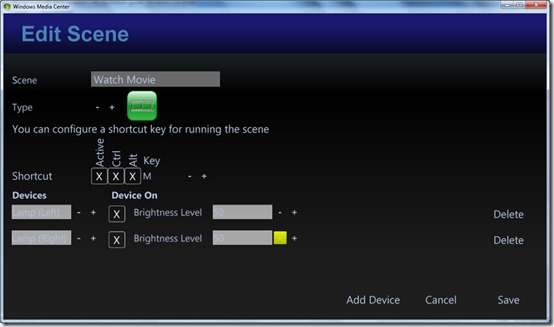
Add any Scenes
For example I can add a Watch Movie scene and assign a keyboard shortcut such as Ctrl+Alt+M I then added the two lamps in my Living Room, selected device on and brightness level at 50%
I could then teach my Logitech Harmony remote control the keyboard shortcut Ctrl+Alt+M and add this new IR command to the Media Center PC device in the Logitech Harmony software. I could then insert the newly learnt IR command in to my Watch Movies activity, so the lamps in the living room would auto dim to 50 % when I used the Watch Movie activity on the Harmony remote control.
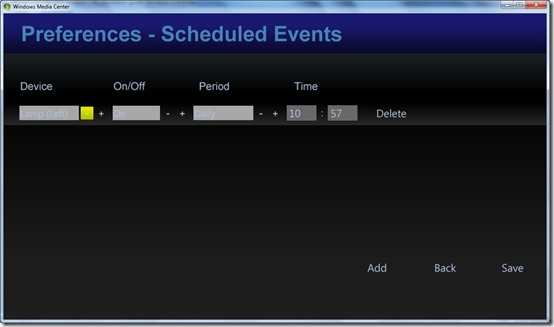
Add Scheduled Events
I’ve not used this myself as yet but you can also add Scheduled Events for example to turn a light on at a certain time.
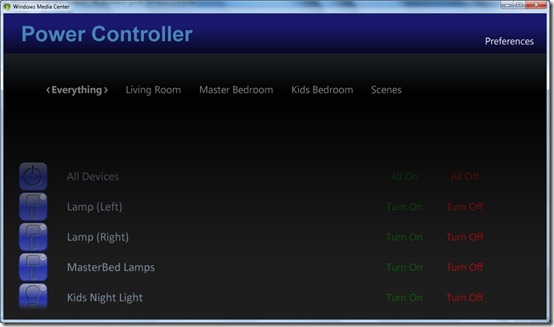
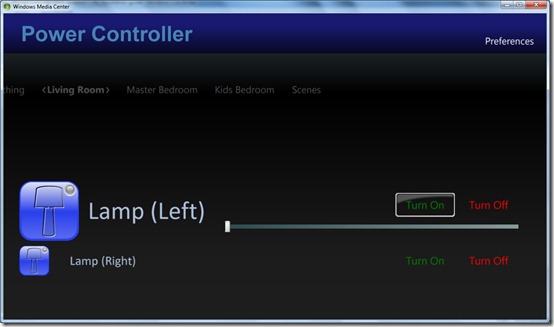
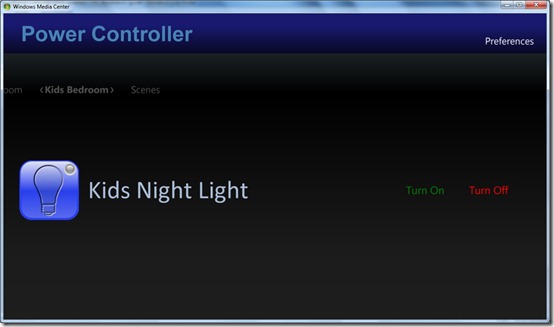
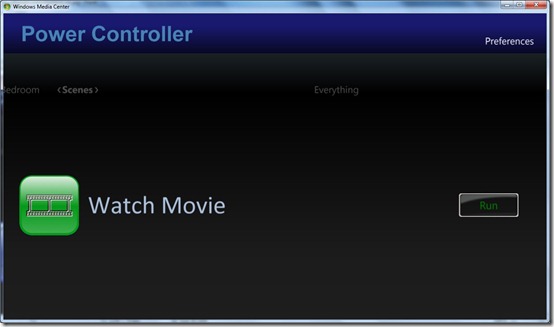
Once you have finished setting up your devices exit the preferences and PowerController MCE should now look something like the below screen shots.
Everything
Living Room (Zone)
Kids Bedroom (Zone)
Scenes
The PowerController MCE user interface also works on Media Center extenders such as the XBOX 360.
Note:- The keyboard shortcuts will only work on the Media Center PC however and do not work on Extenders.
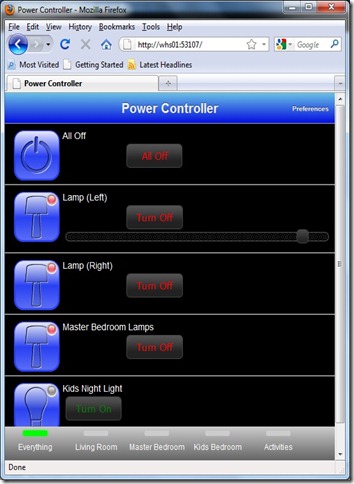
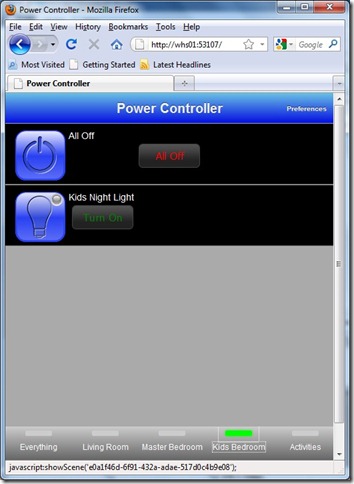
A look at the new Power Controller Web UI
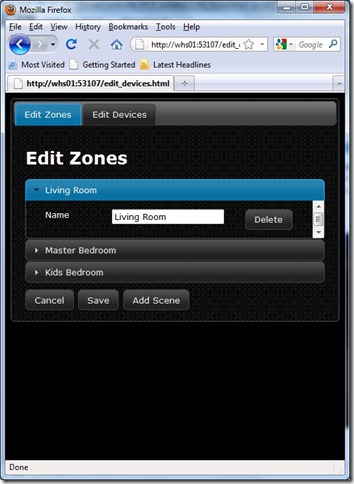
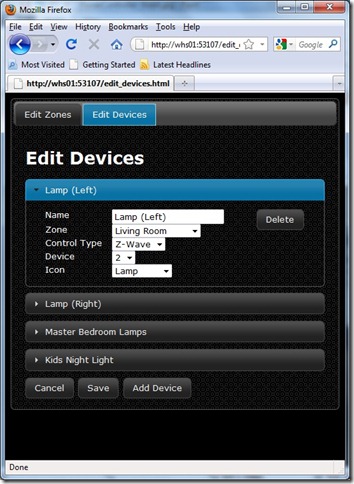
One thing that PowerController MCE was lacking previously was a web UI. If you have an Android smart phone you are covered with the Android application but I don’t own an Android phone and ideally I just wanted to use my Apple iPod Touch. Martin has now added a web UI which means I will now be able to access this webpage which is being hosted on my WHS, from my iPod Touch which is great news. Obviously you can access the web UI from pretty much any device that has a browser.
Previously you could only configure the Zones and Devices in the Media Center user interface as shown above, however now in the new web UI you can configure and setup Zones and Devices from there instead.
Final Thoughts
PowerController MCE is shaping up to be a great MCE and WHS add-in. If you have ByeBye Standby or Z-Wave devices and want a way to control these devices from within Media Center and from mobile devices, PowerController is certainly worth a look. Its relatively easy to setup when compared to some of the other Home Automation add-ins and if you are looking for something basic that works well or you are new to Home Automation like me, then PowerController MCE could be a good place to start.




No comments:
Post a Comment